Search This Blog

Thursday, 28 September 2017

Experimenting and Playing with Inktense

Studio Art Quilts Associates (SAQA) of which I am a member is doing seminars on Surface Design. The seminars are available online to members and include video interviews, articles, galleries, and resources for a variety of surface design methods.

Our first couple of weeks was on Dying and we got loads of information on dyes and methods that was really interesting.

This week was on Paint. Artists are using Acrylic paint, Watercolour paint, gouache, Inktense pencils, india ink. Since I have Inktense pencils, I decided to experiment with them. Inktense are not watercolour but are acrylic ink so when they dry they are somewhat permanent.

I started by wetting my fabric with water and then coloured into the water with the pencils. The water made them bleed a bit but because I was doing washes on the fabric, I didn't mind. I actually liked the look of the bleeding. Once I was done adding colour, I took a brush and brushed on a solution of water and fabric medium to help the colour adhere to the fabric better. This seemed to smooth and soften the colour and when it dried the colour seemed lighter than when I put it down. That is something to keep in mind if I am looking for stronger colour. I may have to go back into it with more colour later.


This is how the blue turned out after it dried and I
had heat set it with my iron.


Then I tried to draw an apple and a lily on dry fabric with the pencils and then went over it with the water and medium and was disappointed that the liquid bled outside the apple and lily and took the colours with it. I have since heard that if I use spray starch on the fabric first, this will stop the bleeding.


I still have some experimenting to to with these pencils because I like the way they look like watercolour and are delicate looking.

Thursday, 21 September 2017

Another Rust Dying Experiment

My last experiment with rust dying was disappointing so I did a little research on it and decided to try it again.

In my last experiment I just used rusty objects laid on top of wet fabric. I kept the fabric wet but even after several weeks there was hardly any rust.


 My research told me I needed to wrap the rusty objects in the fabric and soak it in vinegar and salt which speeds up the rusting.
I used two different fabrics, both 100% cotton but one was a finer cotton weave and the other was muslin.
I checked on them after a few hours and I didn't see any rust coming through the fabric so I added some salt right on top of the fabric and left it overnight. In the morning I unwrapped the packages and found that it had worked somewhat better than the last experiment. In the finer weave cotton, I had put small items like nails and washers and small bits of metal. I don't know if it was because of the small items or the fabric that it didn't take a lot of the rust.

In the muslin I placed bigger items like a flattened tin can, a large round washer and larger hunks of metal. This one seemed to work much better and I'm pleased with the results.

I will continue experimenting because I love the red designs and the staining of the fabric that the rust gives.


The two examples above are the finer weave cotton and below is the muslin. I think I will try again with these same fabrics to see if I can fill the other areas with rust as well.


Thursday, 14 September 2017

All Creation Sings - Art Quilt Completed

I am pleased to post that my Art Quilt has finally been completed after many months of work and it has been delivered to its new owners.

When it was finally finished I tacked it up on my design board to look at it for a few days so it could tell me what it still needed. I had added quilting in such a way that it enhanced certain areas. For example, the quilting in the water was done do make it look like there is movement there. I also used some metallic threads to add a little sparkle and also added some crystal beads. I quilted the grasses so that they would have some depth and I added some twine to give it interest and a different texture. On the rocks I couched some yarn to give the look of cracks and mossy areas. I thought I had thought of everything, however, there was still something missing. It needed some living creatures so I added some birds. This seems like a little thing but it made a huge difference to the feeling of the piece.

Below is my method from beginning to end.

Original inspiration photo
Watercolour painting of photo
Tracing of watercolour painting to be enlarged and used
to plan the pattern.
Choosing fabric
Plotting pattern
Pieceing
Finshed quilt top before quilting and embellishments
All Creation Sings

Thursday, 7 September 2017

Sketchbook Tour

I have several sketchbooks that I use at once and one of them is about 3" X 5". It is tiny and small enough to carry in a pocket or in my purse. Having said that I do take it along when I go out but rarely sketch in it when I'm out.

Here's a little tour of some of the things I've sketched in it.

I have lots of cups and saucers but don't often use them so I thought I would sketch them along with other beverage containers.


There are also some pairs of shoes I thought were interesting to sketch.


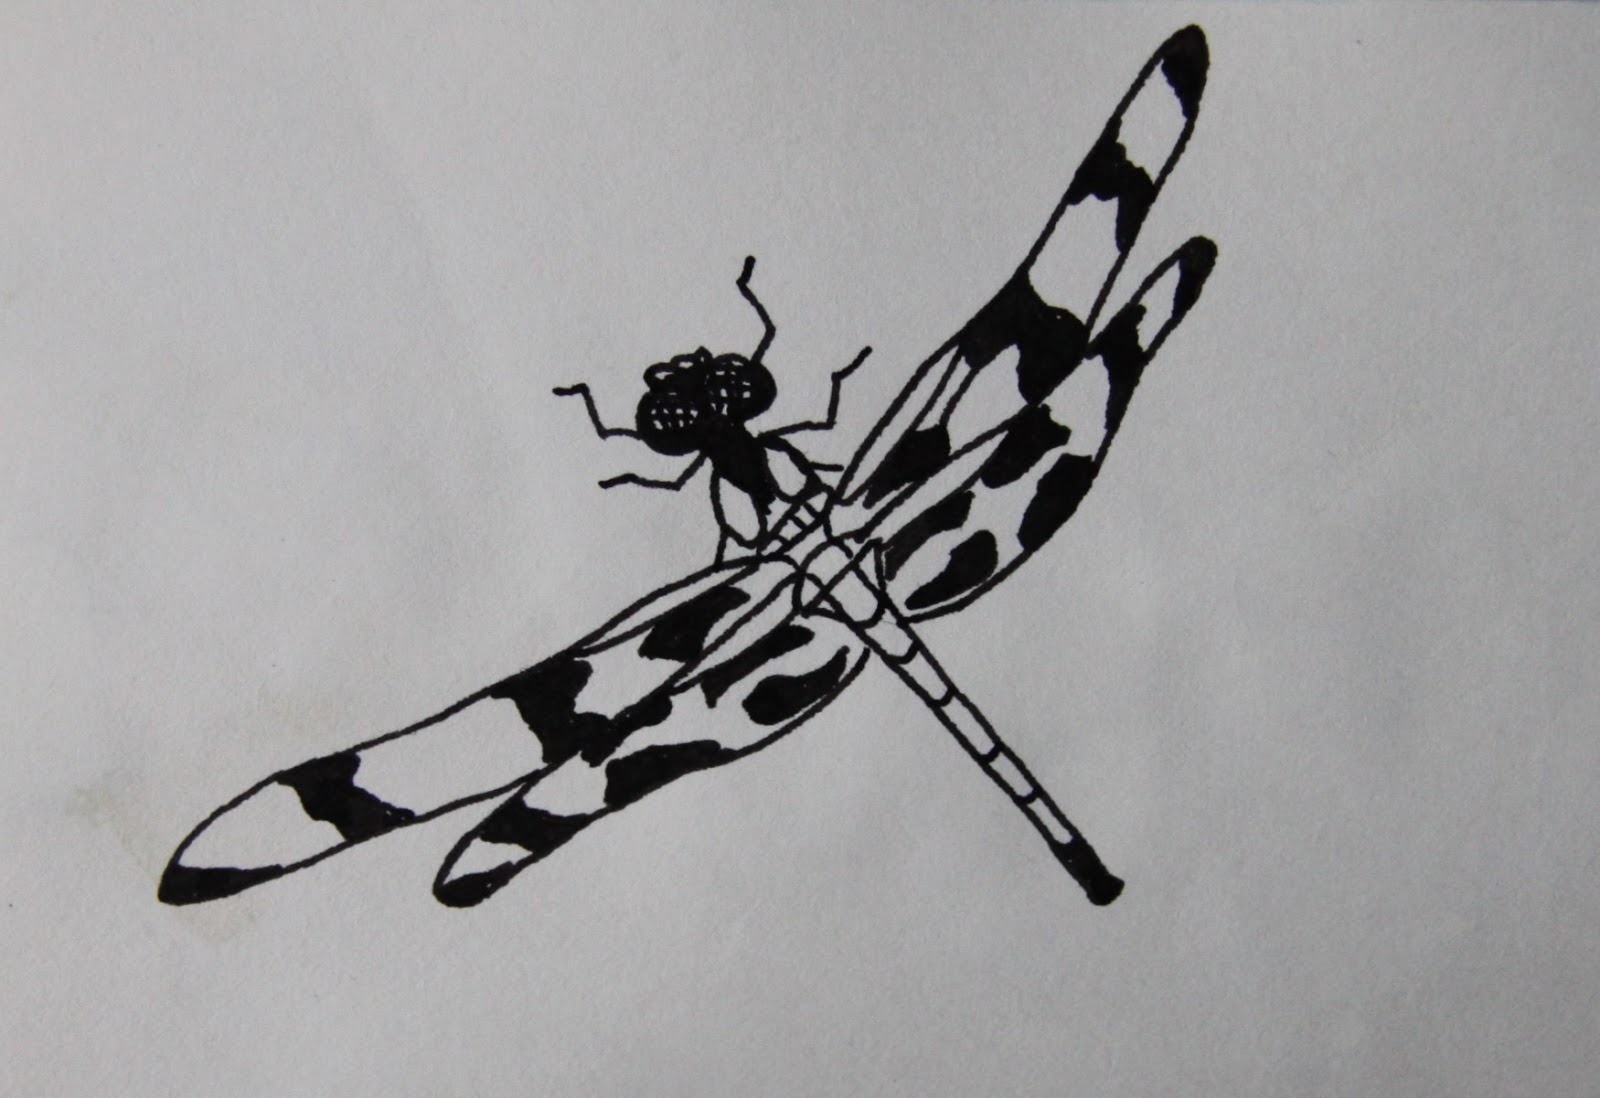
Then I did some insects.


Of course, some flowers.


and some landscapes


I confess that sometimes I've given to one of my grandchildren in church to keep them quiet and occupied just looking at it. Hope you enjoyed this little tour.

Thursday, 31 August 2017

My Corner of the World - Canada News and Vacation Sketches

Last week I received news that the My Corner of the World - Canada Exhibit in which I have a quilt is being shown on September 14 - 17, 2017 as a part of the 23rd European Patchwork Shows Schedule in France and will continue to tour there for a year. I'm pretty excited about that since I didn't even think I would be accepted into that show.

I spent a week this summer in Wasaga Beach, Ontario with my family. The weather wasn't spectacular as has been the case all summer. We didn't spend a lot of time on the beach but that meant that I could spend more time "arting" with my grandkids and doing some of my own sketching. I did three sketches while there and all of them were given away.


There are a few wonky cabins left from bygone days still sitting on some beach property near where we stayed. It looked to me as I was sketching this one that the owners were attempting to renovate them somewhat. They look very rickety and were slightly hidden behind some bush in an attempt at some privacy. They had character though!


This was an attempt at a sunset at the beach. These are hard to do on location because the sun goes down so fast and the sky is always changing. You can see the Blue Mountains in the upper left.


I was sitting by the beach and it was so windy I had to hold onto my paint pallet and brushes while I painted this to keep them from flying away. I was painting quickly because those clouds turned into rain in the distance and with the wind, it was blowing towards me very quickly. Again you can see the Escarpment and the Blue Mountains in the distance.

Thursday, 24 August 2017

Sewer Grates, Manhole Covers, Sidewalk Imprints.

During my morning walk one week, I took along some plain fabric and a watercolour crayon. I was hoping to get some rubbing images on the fabric. Rubbing is when you take a sheet of paper or, in this case, plain fabric and lay it over something textured and by rubbing a crayon or chalk over it, you create an image of the texture. As I walked I looked for things that might work with this technique.
I actually didn't have enough fabric with me to get all the rubbings I could have gotten. Did you know that construction companies stamp their name and year into new sidewalks that are being laid? Next time you go for a walk look down at the sidewalk and find out what year it was laid and by whom.

Some of the rubbings worked out better than others. I'm not sure what I'll do with them yet but when I am inspired, I'll be sure to post about the project.