I was really enthusiastic last week when I started my Art Quilt for our upcoming fundraiser. After having put almost 24 hours into it, I don't have much to show. This week I realized that I will not be able to get this quilt done in time for our fundraiser. I will continue to work on it steadily and will try to get most of it done but it will certainly be incomplete come November 19.
Even though there is only a tiny portion of it done, I really like the colours I chose and think it will be really beautiful.
The bottom section which will be the water and land portions are the most detailed and time consuming sections to sew. That is what I've started on and once those sections are done, the rest is the sky which will develop a lot faster.
This blog serves to give you a glimpse into my creative ventures and what inspires them. Much of my art is directed by my faith and the awe I feel observing the natural world.
Search This Blog
Thursday, 27 October 2016
Thursday, 20 October 2016
When Deadlines Inspire Me
I am pleased with the design and the colours. Hopefully I have plotted it correctly. Now I will have to spend every free minute on it if I am going to get it done on time. Sometimes you just need a deadline to inspire you.
| Here's my watercolour from which I will choose my fabric colours. |
| Fabric choices |
| Pattern |
Thursday, 13 October 2016
2016 Wild Women's Booth Lake Canoe Trip Art Cards Completed
Last week I completed 15 watercolour and ink art cards. Most of them have been sent to the canoe trip participants so I thought I'd post them here for you to see.
| Booth Lake Tent |
| Paddles |
| Misty Morning |
| Booth Lake Campsite |
| Rugged Shoreline |
| Paddle |
| Tattler Lake Ranger's Cabin |
| Kevlar Canoe |
| Tattler Lake Canoes |
| Kitty Lake Ranger's Cabin |
| Sunny Rest Spot |
| Canoe at Rest |
| Tranquility |
| Rocky Shoreline |
| Early Morning Paddle |
Thursday, 6 October 2016
Wax Inspirations
I just enrolled in a new art course. This time it is not an online course but one that the Toronto District School Board puts out. It is a course in Batik, that is, dying fabric using a wax resist. I love Batik fabric and have done many of my art quilts as well as more traditional quilts using this kind of fabric which was produced commercially. So it made sense to me to enroll in this course and learn how to do it myself.
I truly enjoyed the first class I attended although, it is a lot harder than I thought. I will need lots of practice. The course goes until just before Christmas so I will have lots of opportunity for that. It definitely helps that I have some knowledge of how to dye fabric.
I brought 100% cotton fabric that had been washed but not dyed as well as some that I dyed at home.
The wax we used was bees' wax into which we put wooden and wire implements to use to stamp the wax onto the fabric. My stampings were not perfect and I dripped a lot of wax here, there and everywhere. But it was fun and I kind of like the results.
Here I waxed the un-dyed fabric and so I will dye over the wax with one or many layers of different colours.
Some of the implements used are old metal cookie cutters, metal lids, wooden seed pods, wire, wooden block stamps.
These are done on fabric I dyed at home first with one coat of yellow dye and then put wax on top.
Below I waxed the yellow dyed fabric and then over dyed it with red and some spots of blue. All of these pieces still have the wax on them which will stay there until I wash it out.
The fabric below is a piece I tied in knots and dyed by dipping one end into red dye and the other into blue dye and then painting the blue and red together in the center. This one still needs to be waxed and then I will dye it again.
I'm sure some of this fabric will find its way into my art at some point. I'm excited to begin to use. it.
I truly enjoyed the first class I attended although, it is a lot harder than I thought. I will need lots of practice. The course goes until just before Christmas so I will have lots of opportunity for that. It definitely helps that I have some knowledge of how to dye fabric.
I brought 100% cotton fabric that had been washed but not dyed as well as some that I dyed at home.
The wax we used was bees' wax into which we put wooden and wire implements to use to stamp the wax onto the fabric. My stampings were not perfect and I dripped a lot of wax here, there and everywhere. But it was fun and I kind of like the results.
Here I waxed the un-dyed fabric and so I will dye over the wax with one or many layers of different colours.
Some of the implements used are old metal cookie cutters, metal lids, wooden seed pods, wire, wooden block stamps.
These are done on fabric I dyed at home first with one coat of yellow dye and then put wax on top.
Below I waxed the yellow dyed fabric and then over dyed it with red and some spots of blue. All of these pieces still have the wax on them which will stay there until I wash it out.
The fabric below is a piece I tied in knots and dyed by dipping one end into red dye and the other into blue dye and then painting the blue and red together in the center. This one still needs to be waxed and then I will dye it again.
I'm sure some of this fabric will find its way into my art at some point. I'm excited to begin to use. it.
Thursday, 29 September 2016
Rusted Fabric Inspiration
Way back on June 2, I blogged about Scavenging for Inspiration. I had been collecting rusty bits, nails, washers, etc. on my neighbourhood walks and I was going to lay them on a piece of white cotton to let them rust a little more and dye the fabric. Well, it took a long time to see any results so I decided to take the whole thing inside and leave it in water instead of letting the rain do the job. I don't think we had enough rain this summer.
Recently I took it all apart and let the fabric dry out and this is the result I got.
For all that waiting, I thought it didn't look like much. Just a piece of dirty rusty cloth. I started cutting it up into 4 X 6 inch pieces for some quilted cards and the inspiration began to flow. Below are the cards I made from the fabric. I even embellished some of the cards with the rusty metal that made the marks.
Recently I took it all apart and let the fabric dry out and this is the result I got.
For all that waiting, I thought it didn't look like much. Just a piece of dirty rusty cloth. I started cutting it up into 4 X 6 inch pieces for some quilted cards and the inspiration began to flow. Below are the cards I made from the fabric. I even embellished some of the cards with the rusty metal that made the marks.
Thursday, 22 September 2016
New York City Inspiration
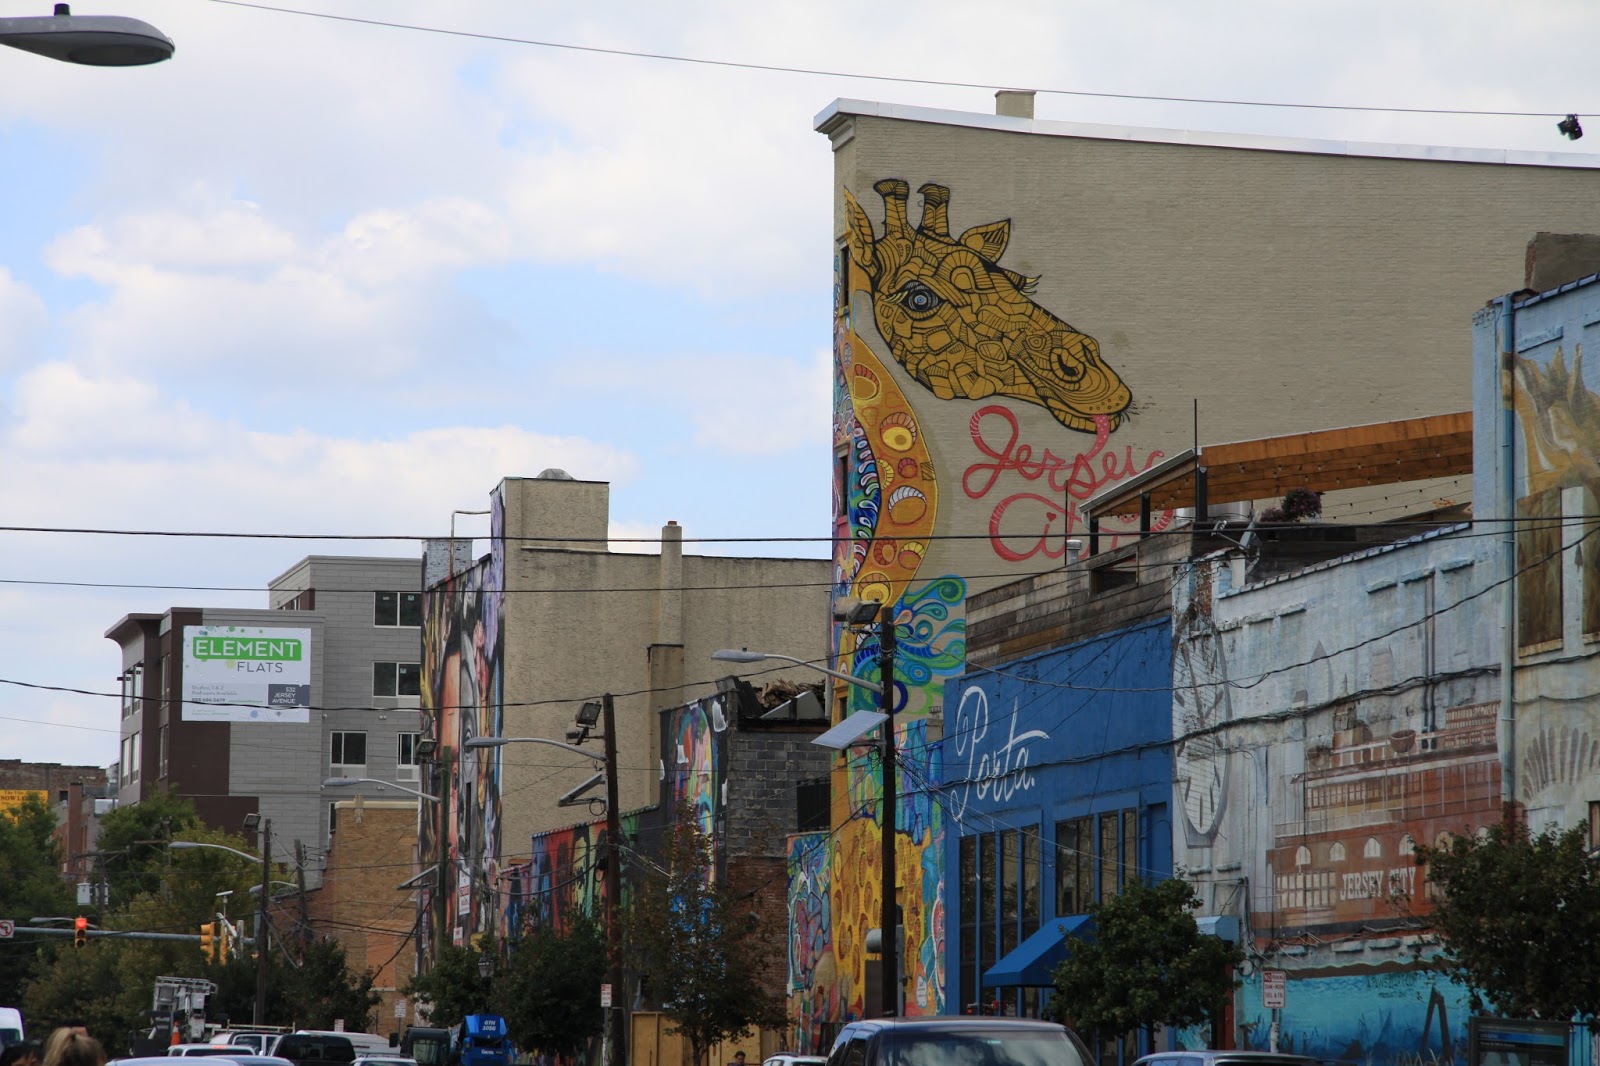
| New Jersey near the Path Station to New York City |
| New Jersey |
| New York City on our walk to Time Square |
| There were several of these types of sculptures. Very colourful! |
| Outside a church near the new World Trade Centre |
| A tiled ceiling at the Bethesda Terrace in Central Park |
| Relief sculpture on a bridge in Central Park |
| A street artist making a snowflake design by pouring coloured powdered chalk from his hand. Central Park Mall |
| Tiny brass sculpture perched on a subway station entrance |
| Spray painted on the street |
| Mural on a building on 10th Street near the High Line |
I did get to a quilt shop in New York. There was construction happening on the street in front of it so I don't know how anyone gets to it unless they are walking. I bought some really cool New York City fabric.
Subscribe to:
Posts (Atom)