Yesterday was Valentine's Day and I have this tradition of not only giving my husband some extra love on that day but also my kids and grand-kids. They usually get a handmade Valentine card and this year was no exception. I try to create something different each year and so I began a few weeks ago in order to complete them on time.
I wanted to use paint in some way so I made card sandwiches with felt in the middle and white cotton on the top and a backing fabric on the bottom. I painted the white cotton pink and let it dry while I drew up some doodles to stitch onto each card.
After I finished stitching, I added different colours of paint which brought out the stitching patterns. Once that dried I took out my embroidery floss and did some hand stitching to enhance some of the patterns. Finally I added beads and buttons to finish them off. I had sore fingers and wrist for a few days while working on these due to the thickness that I had to get the needle through. It's all good now though.
This blog serves to give you a glimpse into my creative ventures and what inspires them. Much of my art is directed by my faith and the awe I feel observing the natural world.
Search This Blog
Thursday, 15 February 2018
Thursday, 8 February 2018
Progress in my Acrylic Painting Class
I've had 5 classes in Acrylic Painting and I am enjoying it. Having painted so long by myself in my studio, I tend to think I've managed well but I have been picking up some helpful tips in this class and it shows me that no matter how much you know or how much experience you have, you can always learn something new.
My painting is progressing well. I work on it once in between classes as well. I begin a painting by drawing the design on the canvas with watercolour pencil. Then I block in the colours of the scene. On this painting I started with the water and the sky because as I told you before I had painted the canvas black. So I started with the lightest areas. Once I had the sky & water blocked in and some detail added I painted the background trees on the far shore. Next I blocked in the rock. The foreground trees I will do last.
I've given the background trees some dimension and tweaked the sky and water. The water still needs more work with the reflections. I added some sky openings in the foreground trees and darkened the rocks a bit. At this point the foreground trees are still just the black of the canvas. It is starting to take shape and I'm happy with its progress so far.
My painting is progressing well. I work on it once in between classes as well. I begin a painting by drawing the design on the canvas with watercolour pencil. Then I block in the colours of the scene. On this painting I started with the water and the sky because as I told you before I had painted the canvas black. So I started with the lightest areas. Once I had the sky & water blocked in and some detail added I painted the background trees on the far shore. Next I blocked in the rock. The foreground trees I will do last.
I've given the background trees some dimension and tweaked the sky and water. The water still needs more work with the reflections. I added some sky openings in the foreground trees and darkened the rocks a bit. At this point the foreground trees are still just the black of the canvas. It is starting to take shape and I'm happy with its progress so far.
Friday, 2 February 2018
Playing with Paint
Since I have no major projects on the go at the moment, I thought I'd take some time to experiment with paint on fabric. I find this easier to work with compared to dyeing fabric because I'm familiar with how paint works and not so much with dyes. I can also control the paint easier than the dyes.
When I use watercolour on paper I use plastic wrap spread over the wet paint to get an interesting background with random shapes in it. Once the plastic wrap is on, I let the paint dry and once dry, I pull the plastic off and love the effects I get. I wondered if I could do the same thing with the acrylic paint on fabric.
I used the same method as with watercolour and layered different colours together and then put plastic wrap over it.
My experiment did work though not as well as with watercolour. I still like the effect and will do further experiments with more paint. When the paint is dry, I will have to heat set it into the fabric so that it doesn't wash out. What I noticed is that the acrylic doesn't dry quickly with the plastic wrap on top so I ended up taking the plastic off and hanging the fabric to dry further. I'm not sure what I will use the fabric for but I'm sure I'll come up with something.
When I use watercolour on paper I use plastic wrap spread over the wet paint to get an interesting background with random shapes in it. Once the plastic wrap is on, I let the paint dry and once dry, I pull the plastic off and love the effects I get. I wondered if I could do the same thing with the acrylic paint on fabric.
I used the same method as with watercolour and layered different colours together and then put plastic wrap over it.
Paint |
Paint and plastic wrap |
On this closeup you can see the designs the plastic wrap made in the paint. |
My experiment did work though not as well as with watercolour. I still like the effect and will do further experiments with more paint. When the paint is dry, I will have to heat set it into the fabric so that it doesn't wash out. What I noticed is that the acrylic doesn't dry quickly with the plastic wrap on top so I ended up taking the plastic off and hanging the fabric to dry further. I'm not sure what I will use the fabric for but I'm sure I'll come up with something.
Thursday, 25 January 2018
Acrylic Class Progress
Along with the general acrylic painting class I am taking, I also signed up for a Portrait painting workshop at the little Art Center up the street from my house. That workshop was this past Saturday and I quite enjoyed it. We drew and painted a live model. I really like that much better than painting from a photograph because you get a truer idea of the colours and lights and shadows from a live model. I didn't have enough time to finish the portrait and because this was a one-day workshop it will never be finished however, it did give me inspiration to continue trying other portraits in acrylic. I will probably paint something else over this one. When I got it home I noticed the nose was not big enough and the eyes were not the same size. If I had more time, I could have fixed those things.
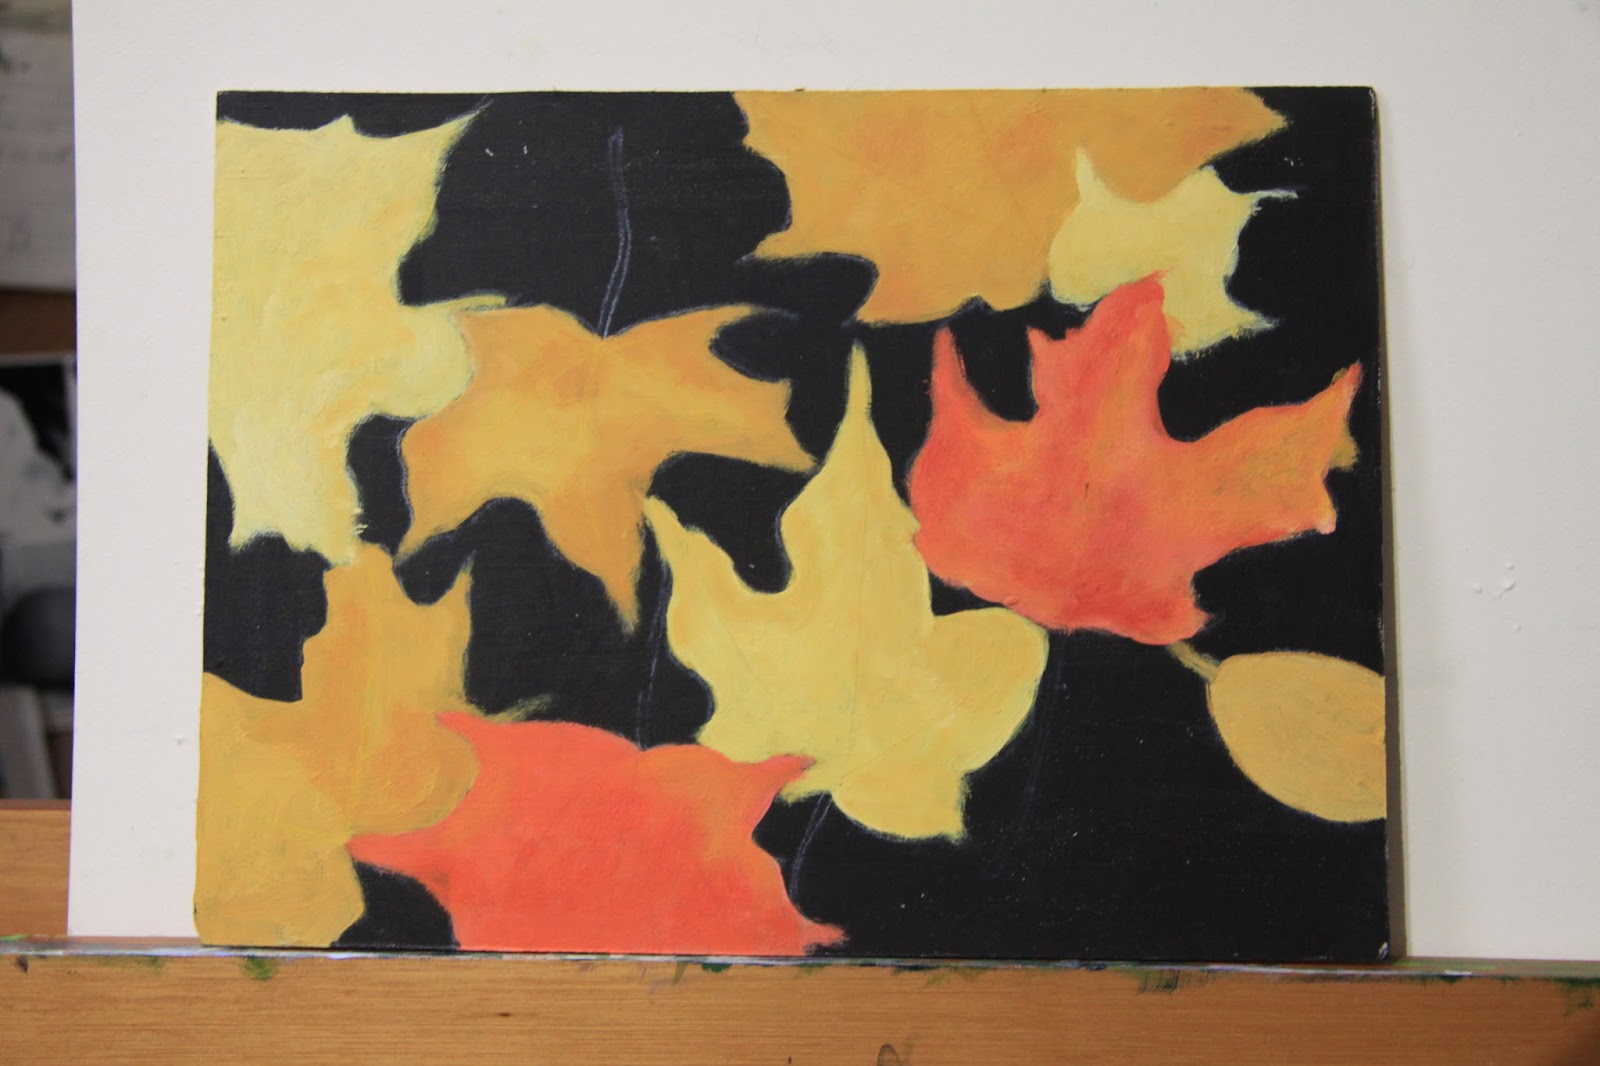
In my other class, I was working on fall leaves and I did get further on those. I decided on this subject just to familiarize myself again with acrylic painting since I hadn't painted in quite a while.
I felt I had done enough on the painting and decided to begin another one with a subject I love. I had bought some good canvas and on the instructor's suggestion, painted it black. Then I sketched my subject on to the canvas. What I learned this week was that none of the other artists free-hand drew their subjects onto their canvas. They traced them on. I have always felt that drawing was a really important part of being an fine artist so I have always practiced that. I find that if you draw your subject onto your canvas it has a more "painterly" expression and reflects the artist. The completed artwork doesn't then just become an identical copy of the photo. I like to put myself into my artwork and by doing my own drawing I feel like I accomplish that. I do that also for my art quilts and its why I always do a painting of my subject before I plan my art quilts.
This painting is inspired by one of my photos from our kayak trip this past July. Having started with a black background prompted me to start blocking in the lightest parts of the painting whereas if I had started on a white canvas, I would have started out with the darks. I kind of enjoyed doing the lights first. The dark is still only the black background of the canvas at this point.
In my other class, I was working on fall leaves and I did get further on those. I decided on this subject just to familiarize myself again with acrylic painting since I hadn't painted in quite a while.
Leaves blocked in with initial colours on black background |
Black background was painted to resemble deck boards |
Background was softened and details were added to the leaves |
The photo and the unfinished painting. Imade some subtle changes. |
Finished painting |
This painting is inspired by one of my photos from our kayak trip this past July. Having started with a black background prompted me to start blocking in the lightest parts of the painting whereas if I had started on a white canvas, I would have started out with the darks. I kind of enjoyed doing the lights first. The dark is still only the black background of the canvas at this point.
Thursday, 18 January 2018
What Do We Do With All Those Plastic Bags?!
My sister was over working in my studio with me and made the comment that I had a LOT of plastic bags. It's something I don't think of too much because when I get a plastic bag, I usually don't throw them away but use them in my garbage containers around the house and in my studio. However, if the bag is made of that heavy duty plastic and has designs or is and interesting colour, I take it to my studio and stash it under my drafting table. The bags are not in the way there and I hardly notice them.
But her comment made me realize, I either have to toss them out or decide to do something with them. So today, I spent some time sorting and folding them and as I was working at this, I decided I need to find a project for them.
A few years ago, I made a plastic "quilt" for an art abandonment challenge. It was made from many colourful plastic bags and then "abandoned" on a bridge close to our house. I hung it there for the neighbourhood to enjoy. It had a "Have a Great Day" message on it. Sadly, a few days later, as I drove by, I saw someone taking it down.
As I sorted my plastic bags today, I was pondering what I could make with them. I have seen that someone made a raincoat out of plastic bags once. It was really cool because there were slogans and pictures from the bags all over this coat.
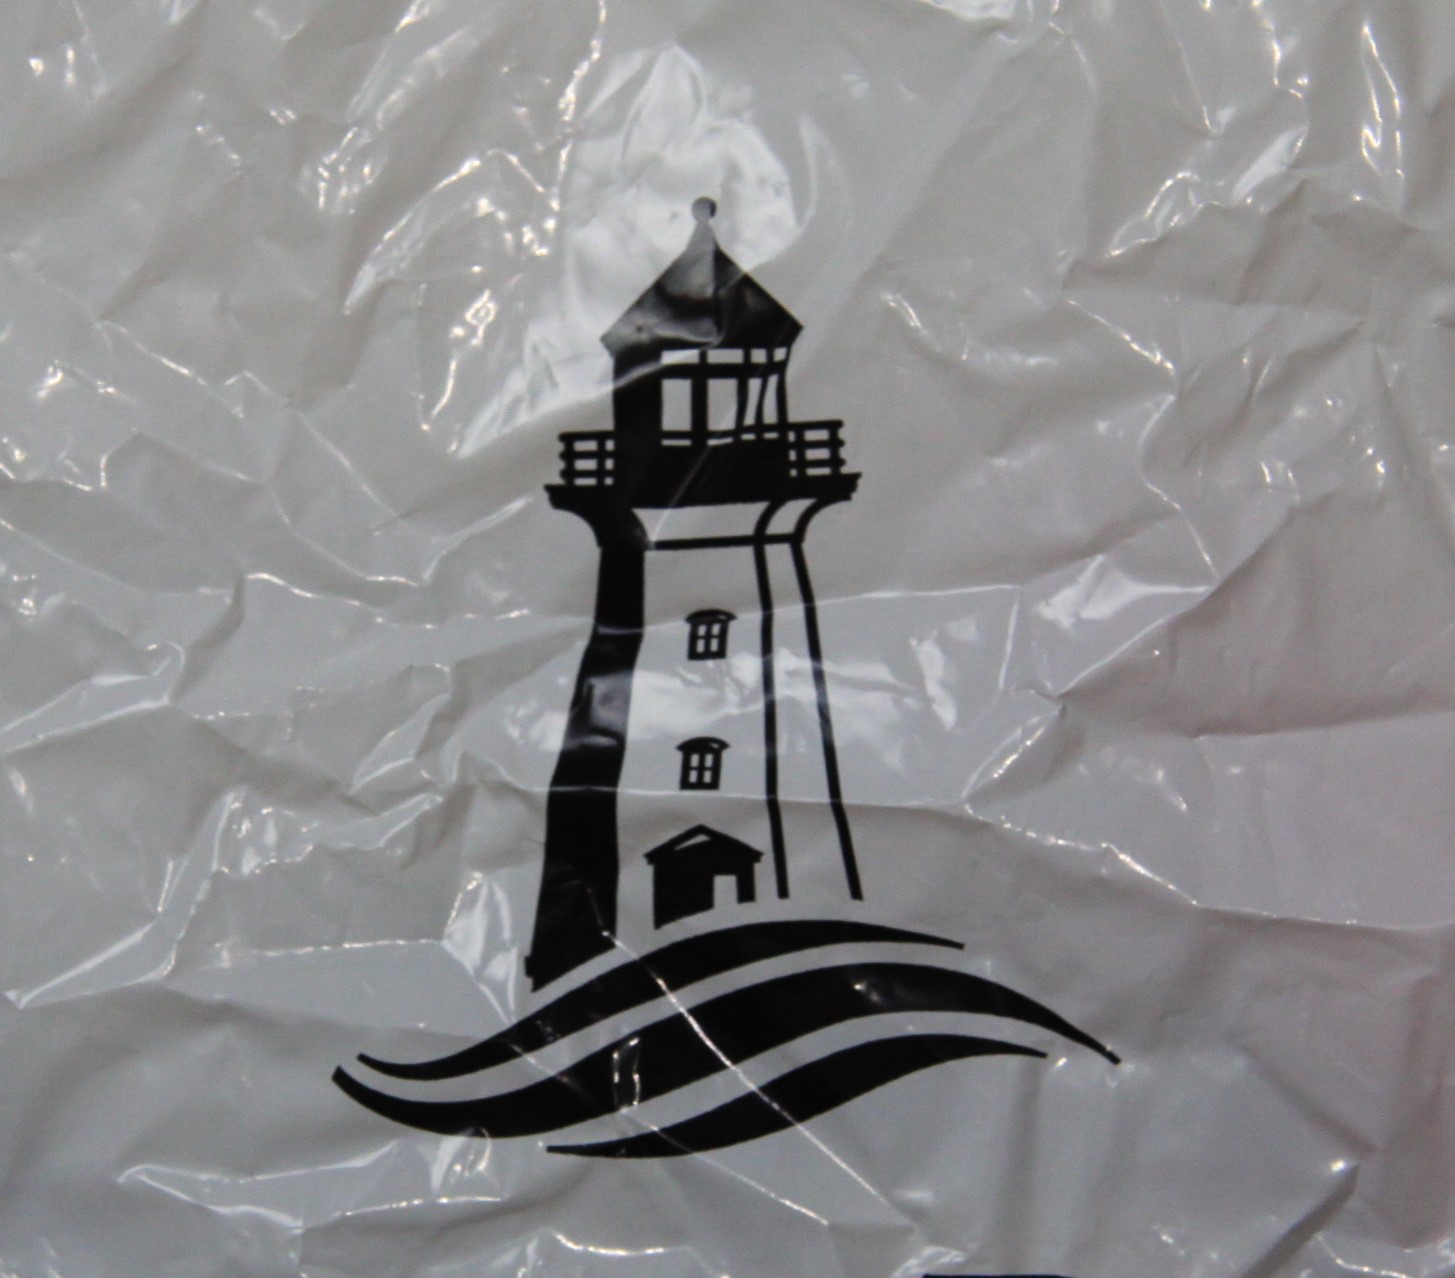
My bags also have really cool graphics and slogans on them. Below are a few of them.
In the end, my table was full of different colours of plastic and I thought I could make something like a fun table cover for when my grandkids come over to create or a cool plastic blanket to use at the beach to put your towel on to keep it from getting all sandy.
I would love to hear some other suggestions if you have them.
But her comment made me realize, I either have to toss them out or decide to do something with them. So today, I spent some time sorting and folding them and as I was working at this, I decided I need to find a project for them.
A few years ago, I made a plastic "quilt" for an art abandonment challenge. It was made from many colourful plastic bags and then "abandoned" on a bridge close to our house. I hung it there for the neighbourhood to enjoy. It had a "Have a Great Day" message on it. Sadly, a few days later, as I drove by, I saw someone taking it down.
As I sorted my plastic bags today, I was pondering what I could make with them. I have seen that someone made a raincoat out of plastic bags once. It was really cool because there were slogans and pictures from the bags all over this coat.
My bags also have really cool graphics and slogans on them. Below are a few of them.
In the end, my table was full of different colours of plastic and I thought I could make something like a fun table cover for when my grandkids come over to create or a cool plastic blanket to use at the beach to put your towel on to keep it from getting all sandy.
I would love to hear some other suggestions if you have them.
Thursday, 11 January 2018
Acrylic Painting Course
I had the first class of my Acrylic Painting Course held just up the street from me at the Franklin Carmichael Art Group. Our class was held in the heritage house on the property which was donated to the City of Toronto by the doctor who lived there many years ago.
I wasn't as prepared as I should have been and didn't have any canvases with me but I took some melomine panels which I had gessoed white. I did take my paint and lots of subject matter. It appeared that I was the only one who was new to the class as everyone else knew each other. That has a way of making one feel a little awkward but everyone was very welcoming. All the other students already has something on the go so I had to decide what I would paint.
When the teacher saw my panel she handed me a bottle of black gesso and told me to cover the panel in it. I have never painted on a black background and was worried the paint would not cover it. The teacher said it would be a fun experience. Well, you can't argue with the teacher so I obeyed.
I decided to start on something fairly uncomplicated and had a photo of fall leaves that I figured I could do fairly quickly. It turns out I didn't have the right colours of paint with me so I was given a list of supplies to get. I used what I had and borrowed a little white paint and I found that my colours were pretty good. I was told never to use black paint as it would make the teacher angry. Instead I was to mix my own blacks with other colours which is already a practice I have whether in watercolour or acrylic. Whew!
I was able to block in the colours of my painting while I was in class (class is only 2 1/2 hours long). My plan was to do some more work on the painting today and I hope to get to it after posting this blog. I have also decided to put my art quilt on hold while I take this class so I can give as much attention to the painting as I can. The course is 8 weeks.
I wasn't as prepared as I should have been and didn't have any canvases with me but I took some melomine panels which I had gessoed white. I did take my paint and lots of subject matter. It appeared that I was the only one who was new to the class as everyone else knew each other. That has a way of making one feel a little awkward but everyone was very welcoming. All the other students already has something on the go so I had to decide what I would paint.
When the teacher saw my panel she handed me a bottle of black gesso and told me to cover the panel in it. I have never painted on a black background and was worried the paint would not cover it. The teacher said it would be a fun experience. Well, you can't argue with the teacher so I obeyed.
I decided to start on something fairly uncomplicated and had a photo of fall leaves that I figured I could do fairly quickly. It turns out I didn't have the right colours of paint with me so I was given a list of supplies to get. I used what I had and borrowed a little white paint and I found that my colours were pretty good. I was told never to use black paint as it would make the teacher angry. Instead I was to mix my own blacks with other colours which is already a practice I have whether in watercolour or acrylic. Whew!
I was able to block in the colours of my painting while I was in class (class is only 2 1/2 hours long). My plan was to do some more work on the painting today and I hope to get to it after posting this blog. I have also decided to put my art quilt on hold while I take this class so I can give as much attention to the painting as I can. The course is 8 weeks.
My drawing on black gessoed panel |
Leaf colours blocked in |
Thursday, 4 January 2018
Inspired by the Art on my Walls
It's a new year and I have my goals in place. All my major projects from last year are finished so I can start planning new projects. I have been approached by someone in our church asking me whether I would like to display some of my art in the church building. It was an interesting request because, in the past, people looked down on displaying art in the church for some very good reasons. However, I think that reasoning is changing and Christians are seeing artistic talent as a gift given by God that we must use to honour Him. As artists who are Christian, we can bring our worldview to the world and our art can be a blessing to many.
I am not an artist who creates "religious" work as a rule. I have done paintings inspired by specific Bible passages that were meaningful to me but unless you read the title, you would not know what the paintings were based on. My work is not overtly religious.
I have a series that I painted of the six creation days as we find it written in Genesis. They are hanging in my studio so I see them all the time. The other day I looked more closely at them and wondered if I could recreate them as Art Quilts.
Today I sketched out the idea for the first day of creation in which God created light. The sketch is based on my painting but I may add some changes. As I sketched I decided that it would be very possible to recreate these paintings into Art Quilts. I will make them bigger (my paintings are 5 X 7 inches and framed with a wide mat that allowed me to write on it the verses that inspired the painting). It will be fun to search for fabric for these 6 Art Quilts. My goal this year is to make at least 2 Art Quilts so based on that, this may take me 3 years to complete.
Above is the last painting of the Creation Series, The Sixth Day. It shows how I have written the Bible verses around the painting on the mat. I don't think this will be something I'll include with the quilt. I might just add "Genesis" and the verse numbers.
Below are the paintings.
Stay tuned for the progress!
I am not an artist who creates "religious" work as a rule. I have done paintings inspired by specific Bible passages that were meaningful to me but unless you read the title, you would not know what the paintings were based on. My work is not overtly religious.
I have a series that I painted of the six creation days as we find it written in Genesis. They are hanging in my studio so I see them all the time. The other day I looked more closely at them and wondered if I could recreate them as Art Quilts.
Today I sketched out the idea for the first day of creation in which God created light. The sketch is based on my painting but I may add some changes. As I sketched I decided that it would be very possible to recreate these paintings into Art Quilts. I will make them bigger (my paintings are 5 X 7 inches and framed with a wide mat that allowed me to write on it the verses that inspired the painting). It will be fun to search for fabric for these 6 Art Quilts. My goal this year is to make at least 2 Art Quilts so based on that, this may take me 3 years to complete.
Above is the last painting of the Creation Series, The Sixth Day. It shows how I have written the Bible verses around the painting on the mat. I don't think this will be something I'll include with the quilt. I might just add "Genesis" and the verse numbers.
Below are the paintings.
The First Day |
The Second Day |
The Third Day |
The Fourth Day |
The Fifth Day |
The Sixth Day |
Subscribe to:
Posts (Atom)